Collecting stamps as a hobby for a philatelist (the one who collects or studies stamps) would be enjoyable, especially if you got hooked into it—often not noticing the hours you spent in doing such. For beginners, investing on stamp collecting supplies is advised for a more organized process, and to make sure that all the stamps you collected will be taken of properly—from the time you have removed them from envelopes until such time that you have kept them in neatly in a storage medium your prefer. Following are the basic things that you need before indulging yourself in the hobby of stamp collecting:
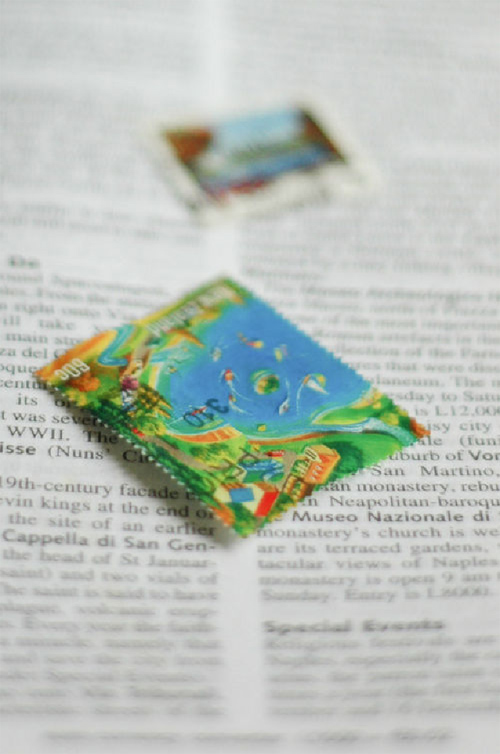
1. Stamps of all sorts
2. A magnifying glass
3. Tweezers or stamp tongs for holding and moving of stamps without damaging
4. A glass vessel, probably a wide-mouth jar, to soak your stamps in
5. Papers or paper towels and heavy, thick books to press your stamps
6. Stamp album, stock book, or own-made scrap book designed for stamp collecting to store and preserve your most-valued collection
Stamp collecting kits that come with stamp collecting supplies mentioned above are available in your local hobby stores or in online stores offering such materials, including the stamps itself! Below are the steps to help you start with your stamp collecting hobby:
 |
1. For beginners, start by buying local postage stamps in a packet of 500 or 1000 at your nearest post office. You could also make friends with fellow collectors, and you could trade and swap stamps. There are also auctions intended to invite stamp collectors to bid for stamps from various sources. Also, you could ask for your friends overseas to send you stamps from countries they are in. Collecting a variety of stamps that come from different places would make your collection more attractive. |
 |
2. Cut off stamps from envelopes, leaving about 1-2 cm safety margin. Make sure not cut the perforations, as it will be a factor in appraising your stamps’ value. |
 |
3. Dip the envelope sections in warm water (with the stamps attached) for 20 minutes or so. Remember that you should not use hot water, as it will ruin the images imprinted on the stamp. It is also important to make sure that you do not submerge at the same time a stamp with white background paper together with a colored one, as the colors usually stain the water and may cause damage to your white stamp. |
 |
4. Remove stamps carefully from the portion of envelopes using tweezers or stamp tongs. When choosing tweezers, avoid those with too pointed tips so as you will not accidentally poke the tweezers’ point through your stamp. Appropriate stamp tongs are necessary to protect your stamps from physical damage when picking up, the same thing as it will protect your stamps from damage that may be brought about by the moisture that normally comes from your fingers/hands. |
 |
5. Allow excess water to drip and let stamps dry, at least overnight, by arranging the stamps on a sheet of paper towels or a simple paper. Make sure that they are not crowded! Cover the first layer with another sheet of paper and place a heavy, probably hard-bound bound textbook on top, for the stamps to be pressed |
 |
Last is to sort your stamps according to country or topic/theme. Choose the perfect storage for your stamps, such as in a stock book or stamp album. It would be more creative though, if you would make your own scrapbook intended for your collection. You would again use your stamp tongs/tweezers in transferring your stamps. |
Excited to start your stamp collecting? Visit this page to choose from a wide selection of stamps for sale.